Bring up Voyager SDK in Raspberry Pi 5
This guide walks through installing and running the Voyager SDK on a Raspberry Pi 5 fitted with a Metis M.2 module.
M.2 HATs
Axelera AI has tested the following M.2 HATs:
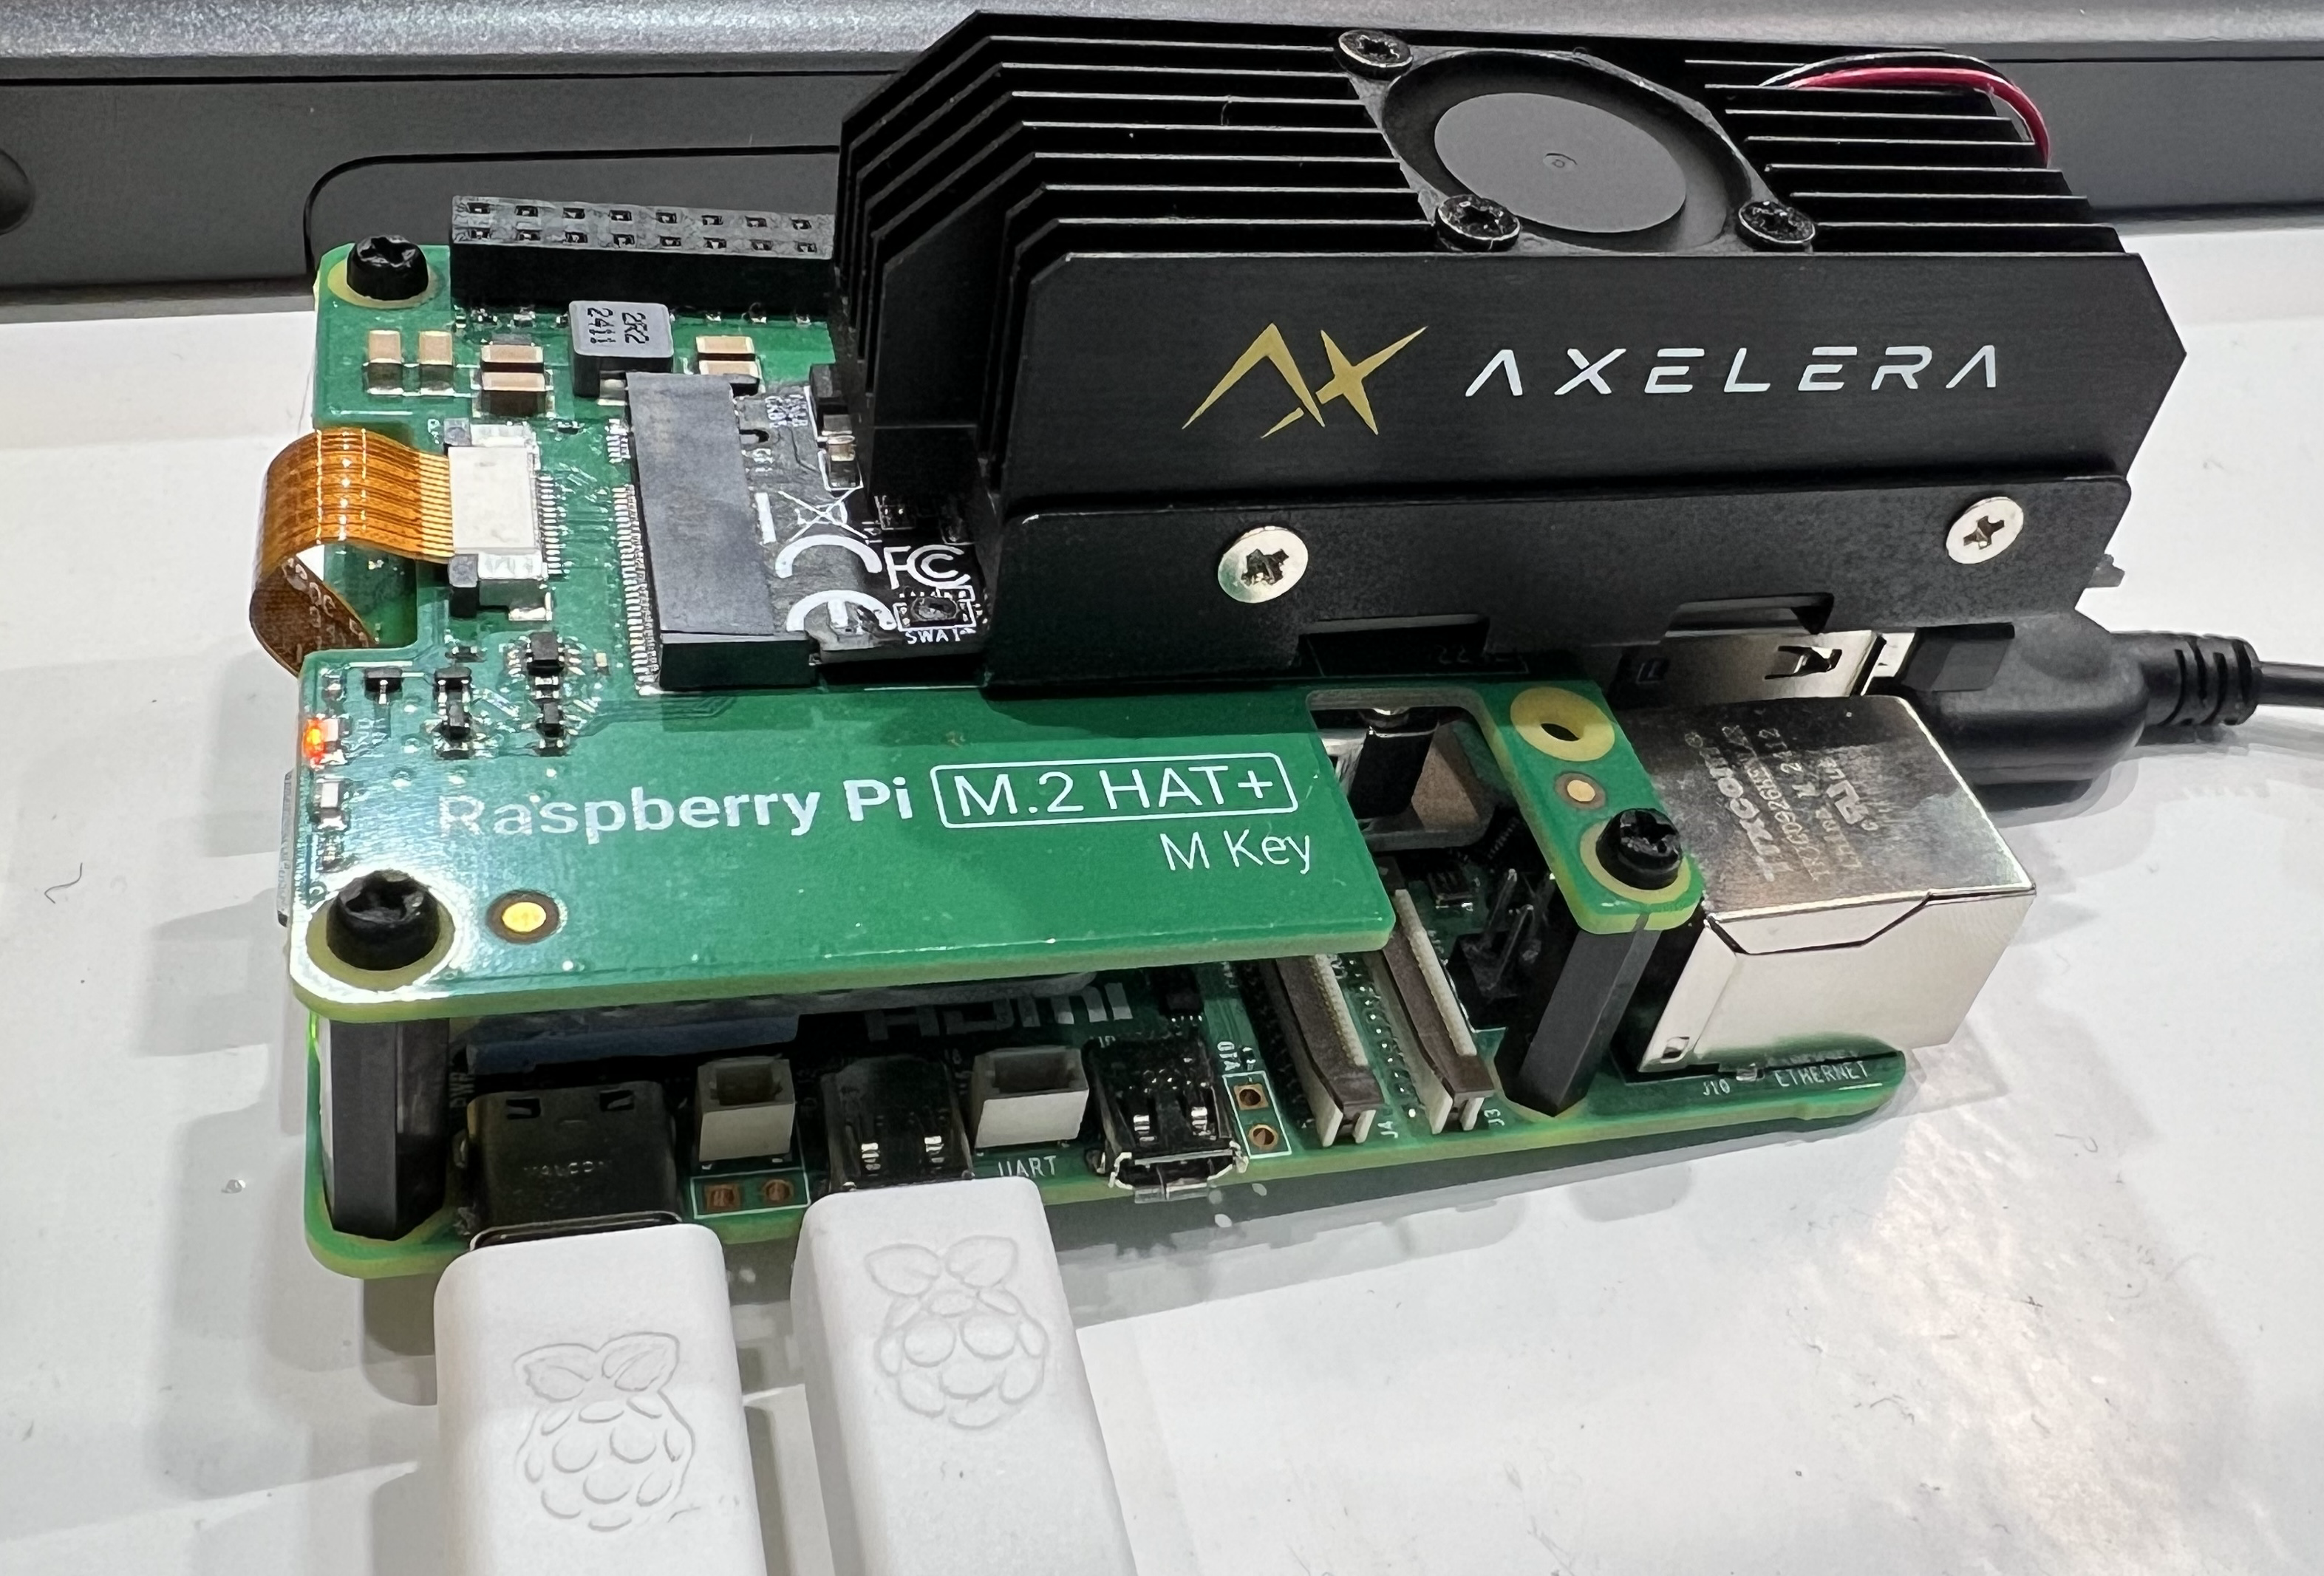
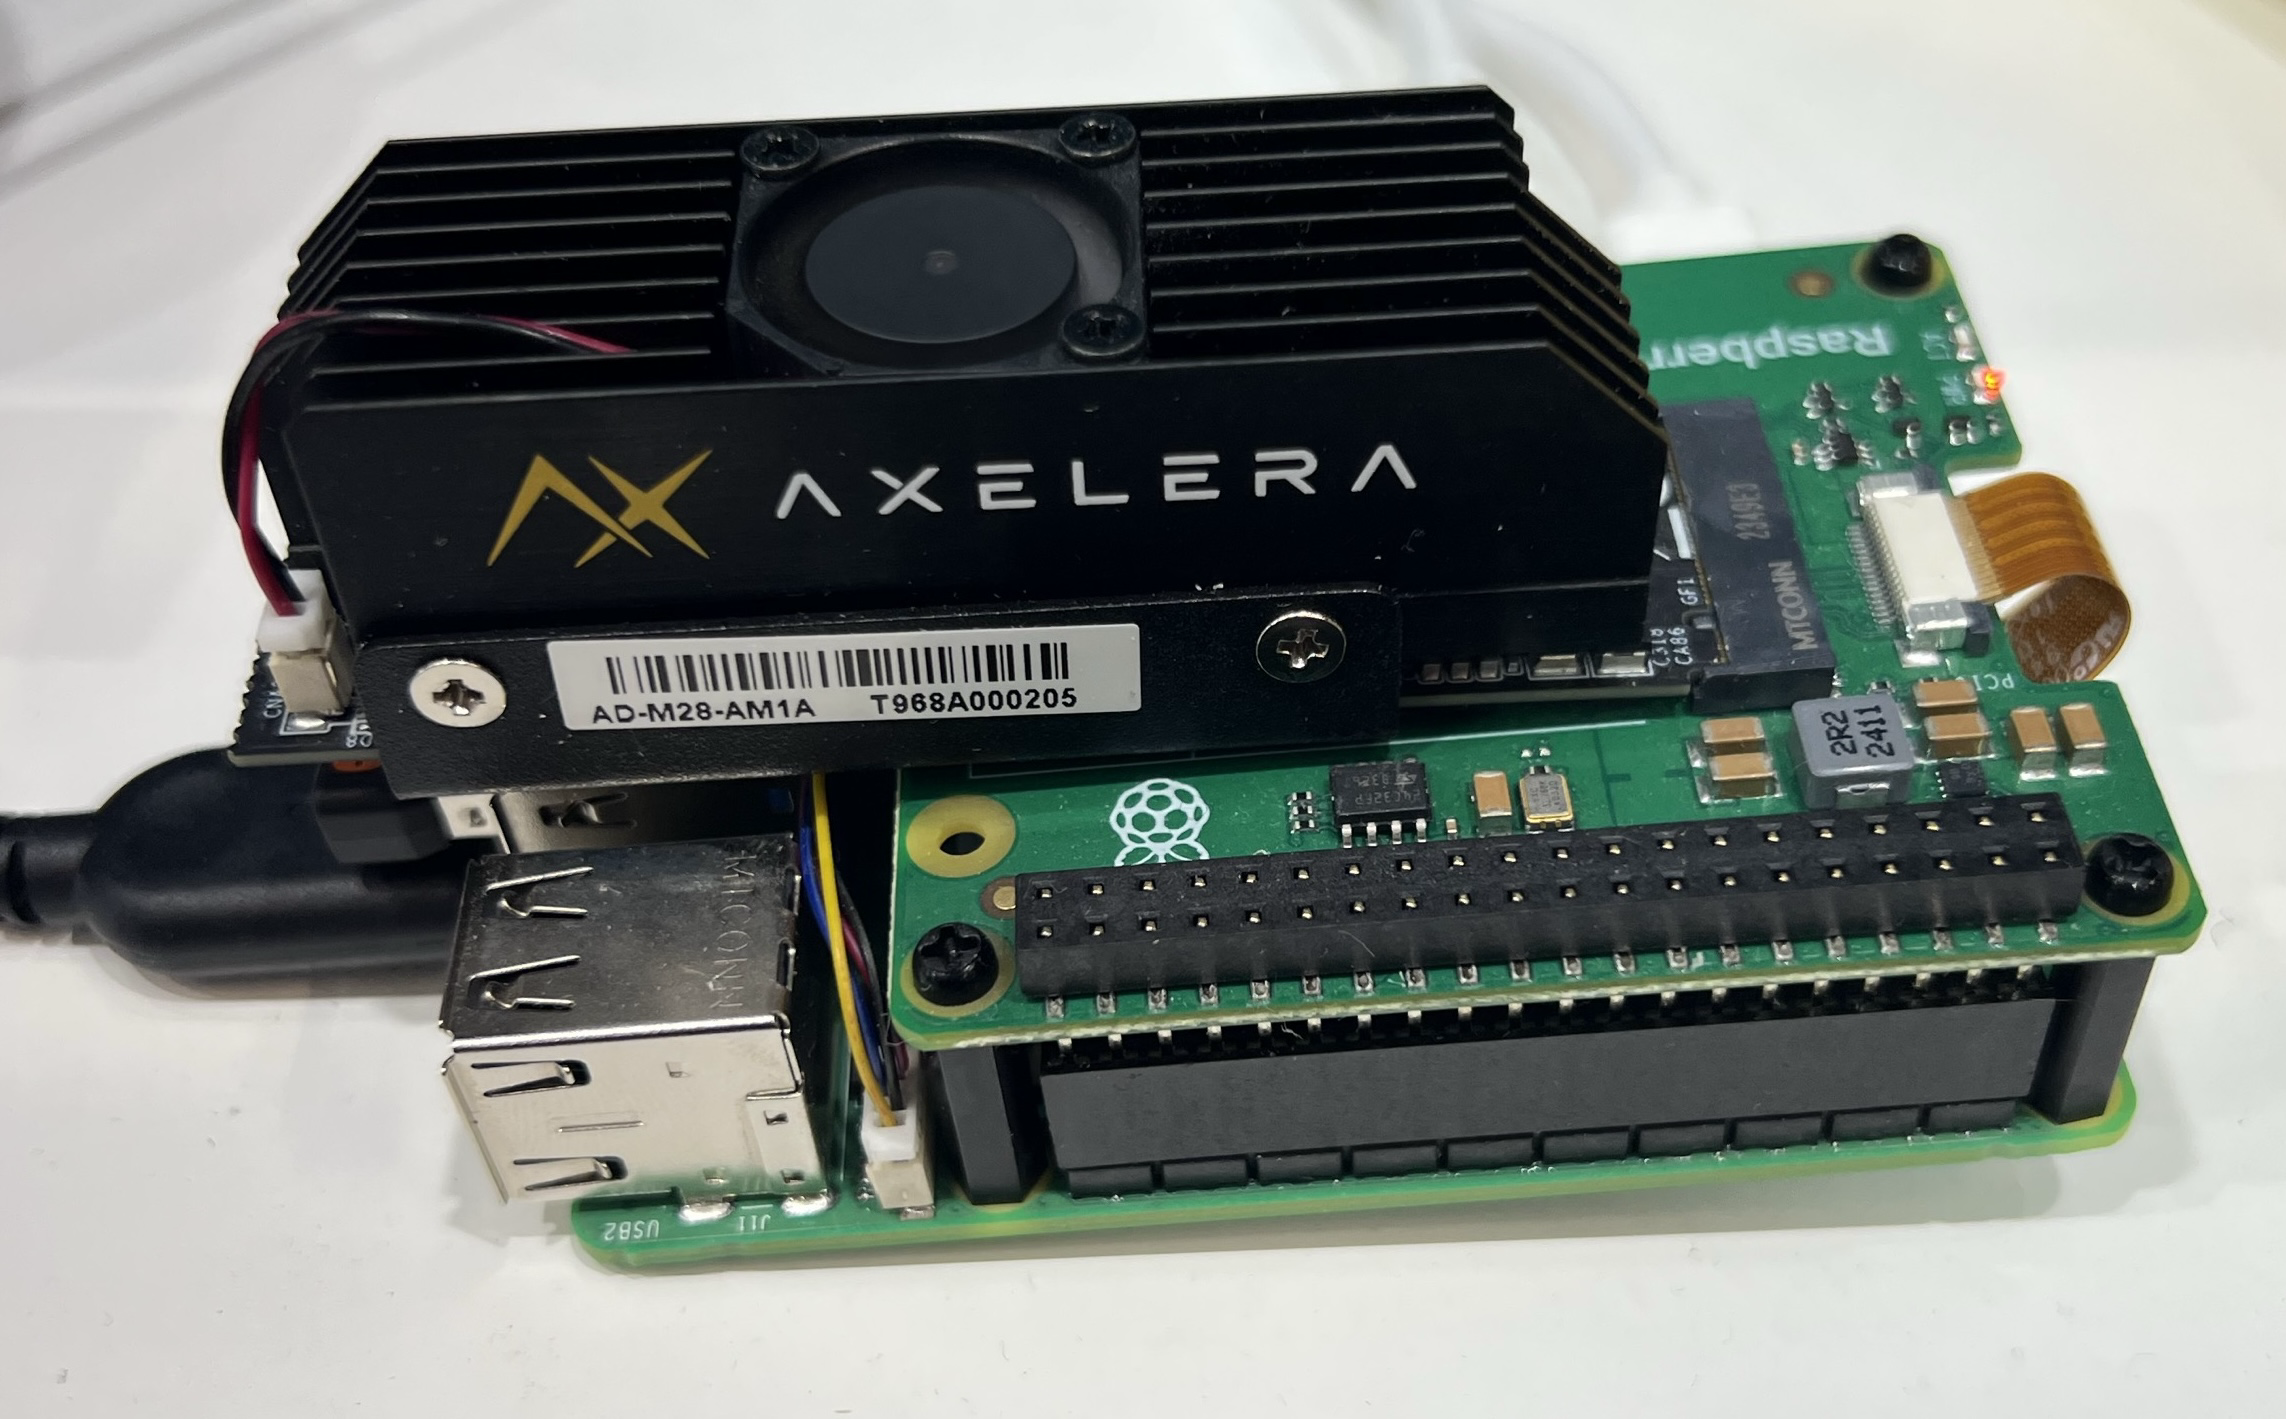
- Raspberry Pi M.2 HAT+
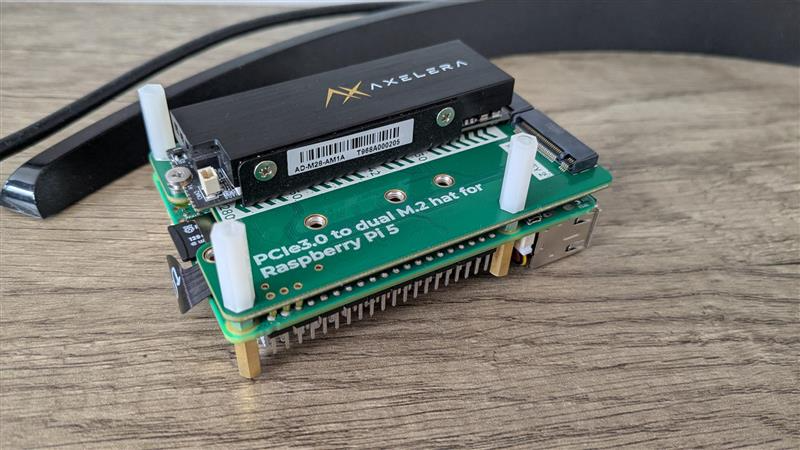
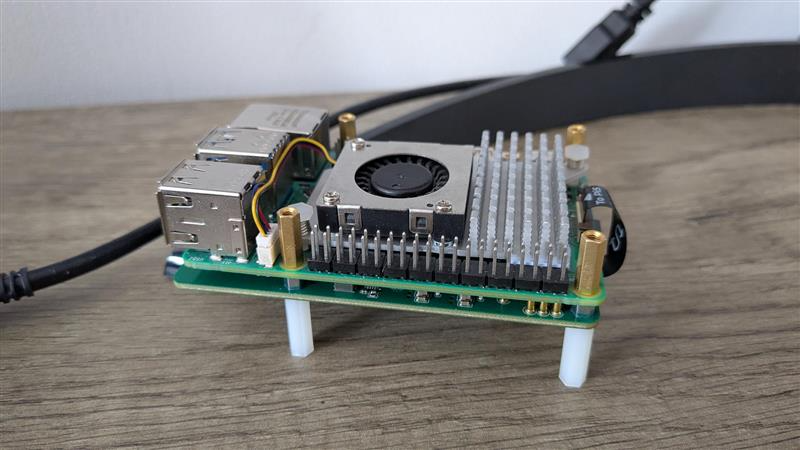
- Seeed Studio M.2 Dual HAT
Other HATs may also work, but only the two above have been tested by Axelera AI. Always follow the installation guidance provided by your M.2 HAT vendor.
Raspberry Pi M.2 HAT+
Seeed Studio M.2 Dual HAT
Prerequisites
Enable PCIe Gen 3 by following the Raspberry Pi documentation.
Install the Voyager SDK in a Docker container
Follow every step in the Install Voyager SDK in a Docker Container guide.
Power delivery on the Raspberry Pi 5 can be limited, which may affect some models. If inference crashes, limit MVM utilisation on Metis. From our internal testing we recommend a 20% limit on the Raspberry Pi 5 (tested on Voyager SDK 1.3):
AXELERA_CONFIGURE_BOARD=,20 ./inference.py yolov8l-coco-onnx ./media/traffic1_480p.mp4 --no-display
The Voyager SDK supports both Wayland and X11. Whenever you switch from one to the other, run this command outside the Docker container (it is also covered in the install guide above):
xhost +local:root
Download prebuilt models
Building models directly on the Raspberry Pi 5 is slow, so we recommend downloading prebuilt models instead.
Run make inside the Voyager SDK folder (with the virtual environment activated) to list the available models. To download a prebuilt model, for example yolov8s-coco-onnx:
./download_prebuilt.py yolov8s-coco-onnx
Display results with OpenCV
After the steps above, OpenCV is the default display when you run inference. For example:
./inference.py yolov8s-coco-onnx ./media/traffic1_480p.mp4
Display results with OpenGL ES
OpenGL is not supported on the Raspberry Pi 5, but its embedded variant, OpenGL ES, is. The Voyager SDK supports OpenCV, OpenGL, and OpenGL ES.
Enable OpenGL ES inside the container
Inside the Docker container, run:
sudo apt update && sudo apt install -y mesa-utils libgl1-mesa-dri
sudo chown root:video /dev/dri/renderD128
Check the installation:
glxinfo | grep "OpenGL renderer"
You should see output similar to:
OpenGL renderer string: V3D 7.1
You can also confirm it visually by running:
glxgears
Run inference using OpenGL ES
Option A — export the backend, then run inference:
export AXELERA_OPENGL_BACKEND=gles,3,1
./inference.py yolov8s-coco-onnx ./media/traffic1_480p.mp4
Option B — set it inline on a single command:
AXELERA_OPENGL_BACKEND=gles,3,1 ./inference.py yolov8s-coco-onnx ./media/traffic1_480p.mp4